This article goes over how to add groups to the CRM tab and how to assign a group to a customer. Please note that groups are assigned to a customer while the industry field is assigned to a company. A company can only be listed as one type of industry but a customer can be in more than one group.
For example, Colleen is a school teacher - she would be assigned to the group called Schools - but Colleen also orders for her Sunday school class - so she would also be assigned to the group called Church.
Note that under the Marketing Tab - Email Marketing, you can select groups to send emails to. Please see the Email Marketing article.
Note that you can look up all the customers that fall into a group using the Contact Search Icon. Please see the Contact Search Icon article.
HOW TO CREATE A GROUP:
1 - Click on the CRM tab and look for the Groups icon.

2 - Next a Pop Up Box will appear with a list of the Groups that have been created. Please note that if you are new account then there may not be any groups created yet.

3 - You can use the Create A New Group section to add a new type of Group to your list. Click Save to add the new group.


4 - To Delete a group you will just click on the Group name - a Pop Up box will appear double checking making sure this is what you intended to do. If yes then click OK.


You have now reviewed your group list - added a new group - or deleted an existing group.
HOW TO ASSIGN A GROUP TO A CONTACT:
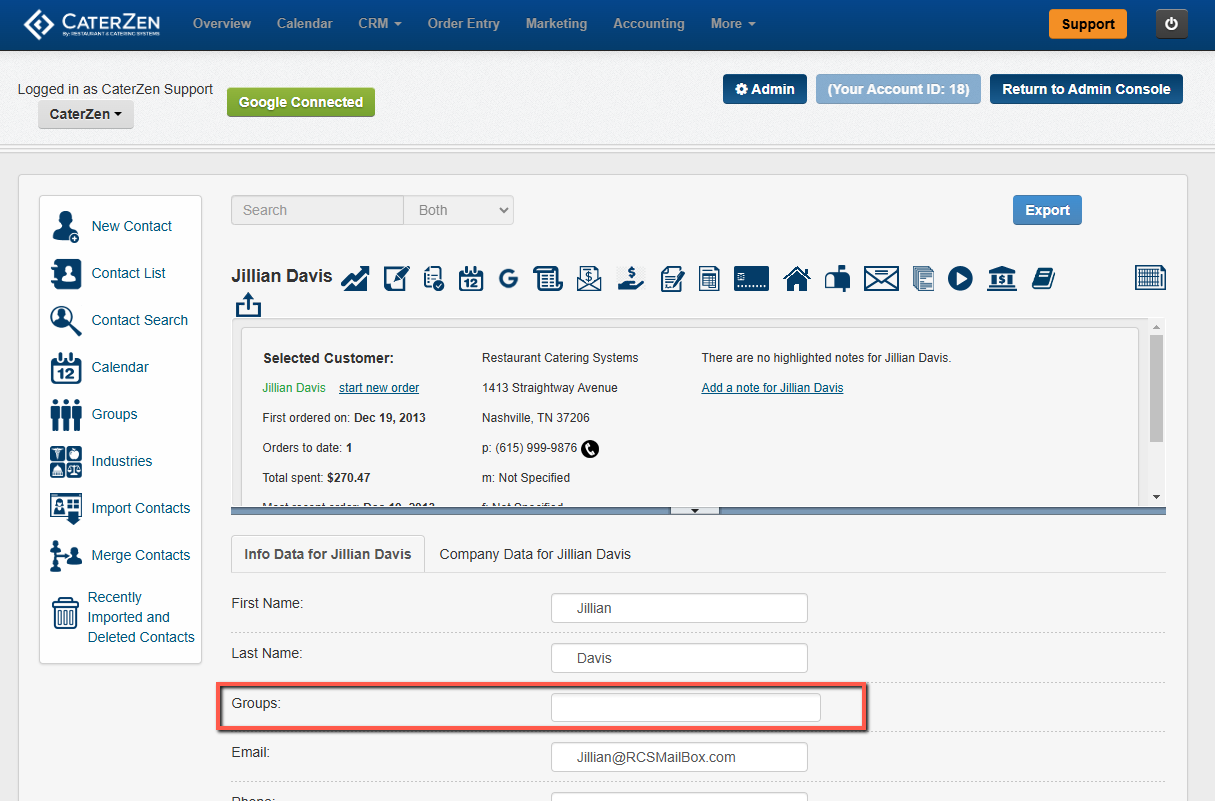
1 - Click on the CRM tab and Search for the contact you want to work with.


2 - Then under the Info Data tab for the customer look for the Group drop down.
3 - Click inside the Group drop down box and select the groups the customer needs to be assigned too.
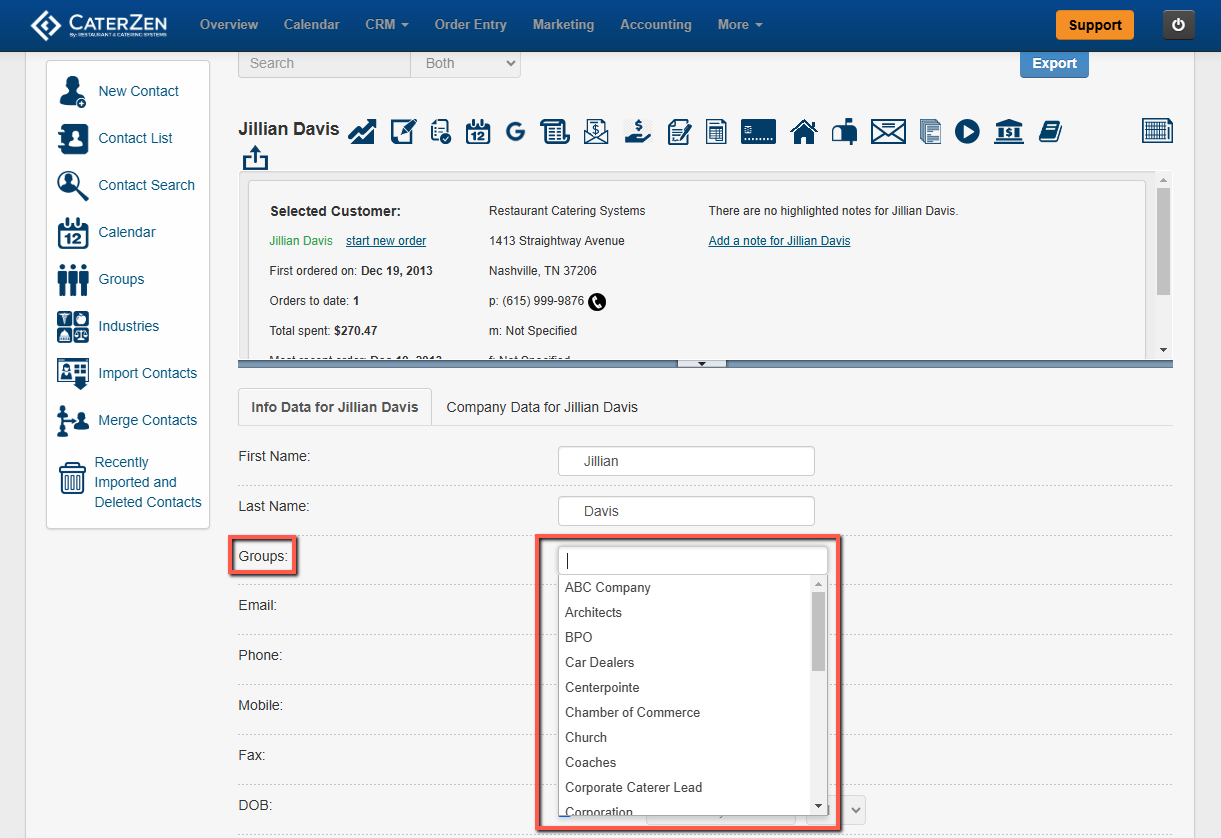
4 - Remember, you can add more than one group to a customer.


5 - Do not forget to click Save after adding the group to the customer.

You have now learned how to create a group and assign a group to a customer.